
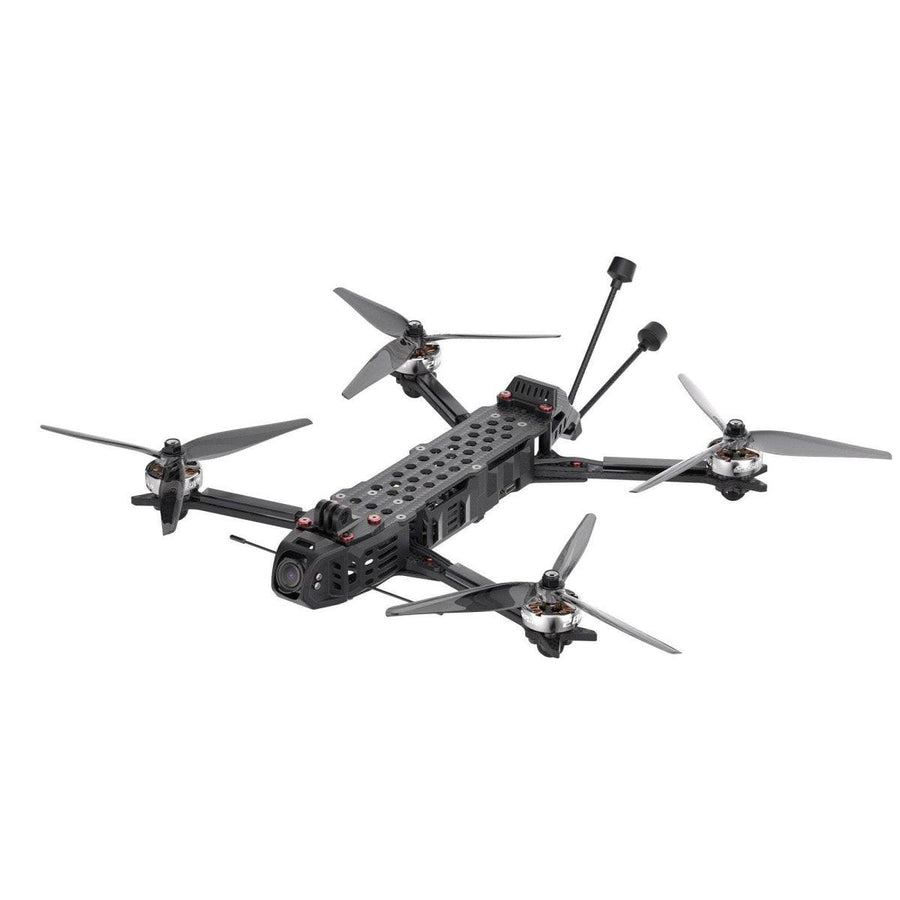


Tutorial: How to Assemble the Five33 LightSwitch V1
Step-by-Step Build Guide: Assembling a Light Switch
- Start by grabbing the wiggle plate and insert the arms by wiggling it back and forth until it fits snugly. Insert all four arms in the same way.
- If it's difficult to insert the wiggle plate, use a flat file to slightly file down the top surface of the arms. This step is usually not necessary but can help in extreme cases.
- Once the arms are securely in place, insert the wiggle eating TPU bits into the arms.
- Take the bottom plate and align it with the raised bits on the TPU pieces. This will hold the arms in place.
- Use four long screws to attach the bottom plate to the arms. Ensure that the screws rotate freely inside the arms. If they are too tight, consider using longer button head screws to align everything before tightening.
- Start threading the screws into the arms, ensuring they rotate freely. It's easier to tighten three screws first and then work on the fourth one.
- If any screws are not aligning properly, back them out slightly and apply downward force while tightening to align them correctly.
- Once all four screws are threaded into the mid plate, tighten them by bringing each one in three turns at a time.
- Check that the screws are snug but not overly tightened, as excessive force can strain the mid plate.
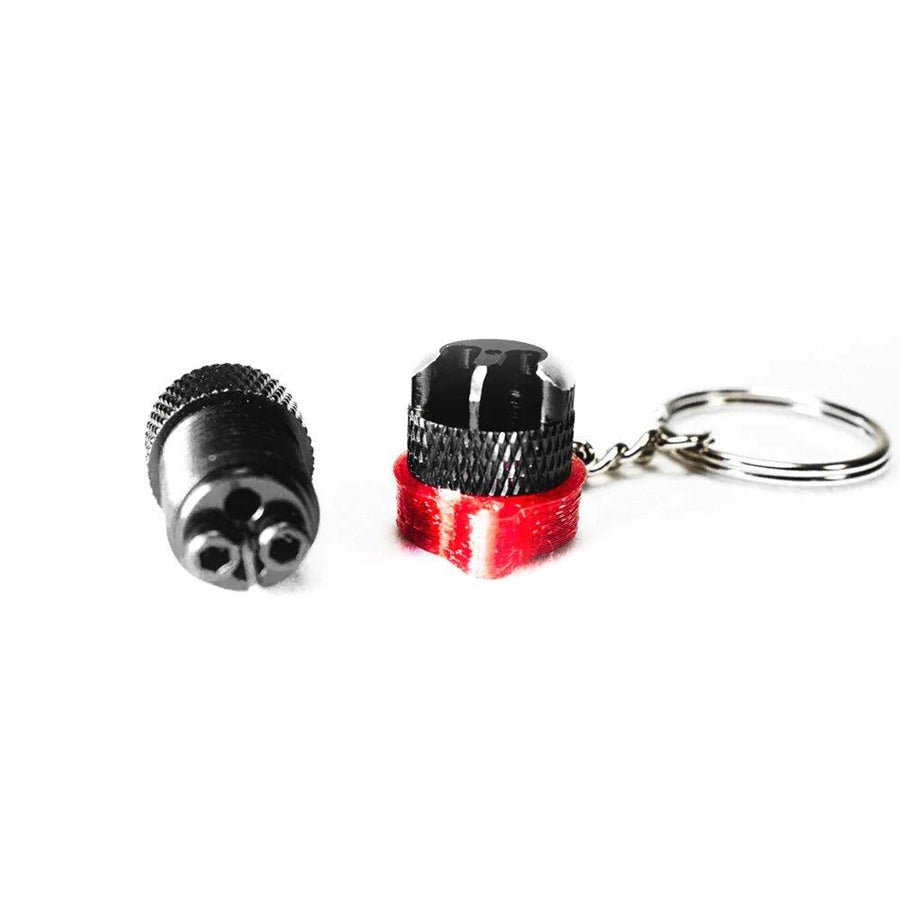
- Insert two shorter countersunk screws into the designated holes.
- Choose the desired length of standoffs and thread them onto the wood.
- Place the top plate on the standoffs, especially if you're using a hybrid board or want extra stack protection.
- If you prefer a lighter setup, omit the top plate.
- Ensure all components are securely in place, and none of the screws are interfering with the press nuts.
- Double-check that the screws can freely rotate inside the armholes and that the mid plate can be pulled down without resistance.
- If necessary, make adjustments using a longer screw or file down the armhole slightly to ensure free rotation.
- Once everything is in order, your light switch assembly is complete!
These instructions are based on the video by Five33_Mondo. Resort to the video if you have any trouble or need a visual guide.
