


Tutorial: How to build a Five33 TinyTrainer V2
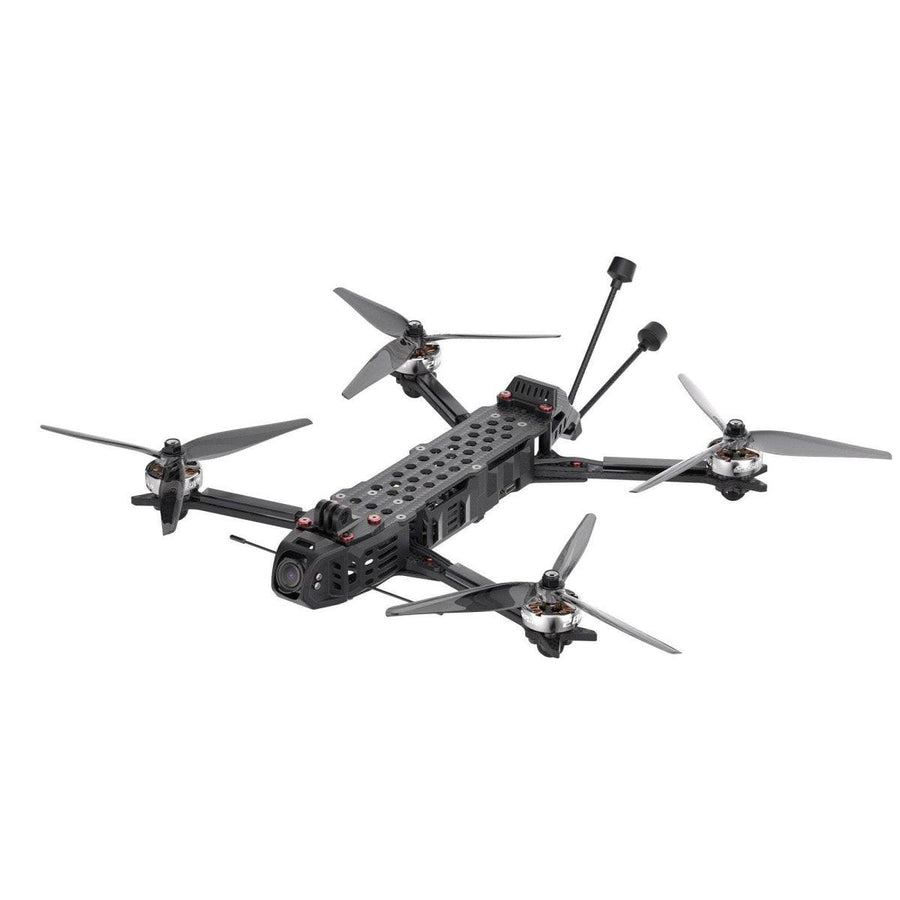
The Tiny Trainer V2 is an upgraded version of the original Tiny Trainer, designed to be more durable and user-friendly. In this tutorial, we will cover the key features of the V2 and provide step-by-step instructions on how to build it.
Key Features:
- Removable Arms: The V2 features removable arms that can be easily attached and detached using M3 screws. You will need a 2mm driver and a 1.5mm driver for the assembly.
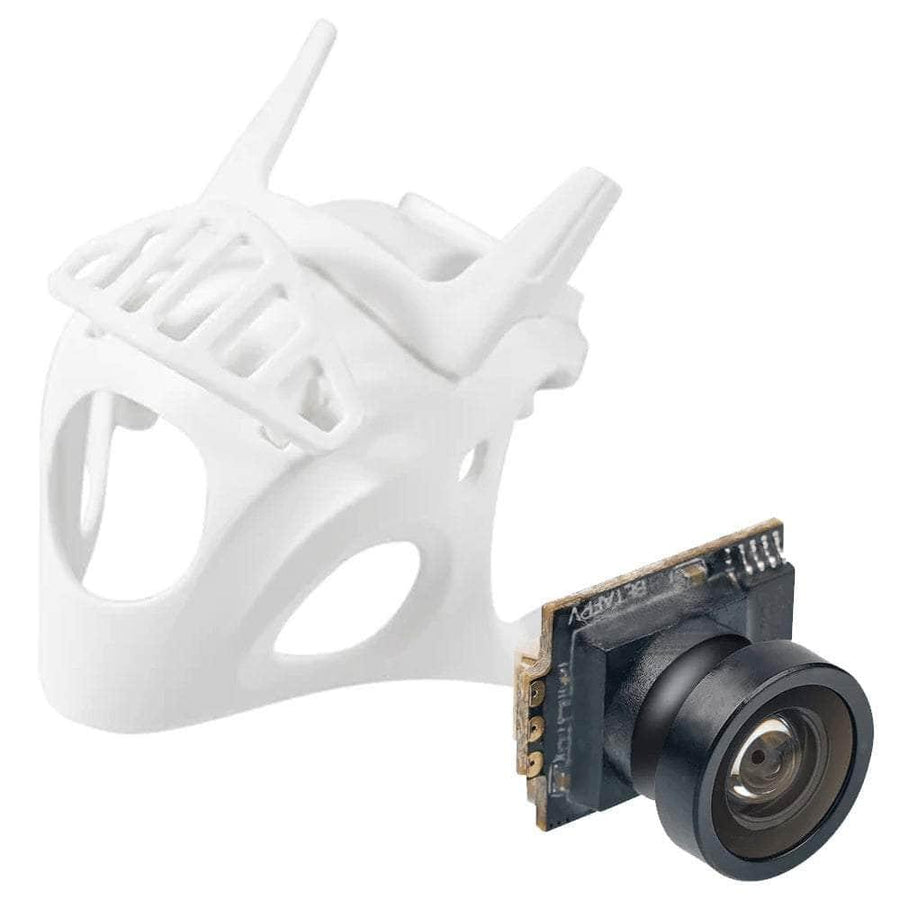
- Easy Access Canopy: The V2 has a canopy with a hinge mechanism, allowing easy access to the internals of the drone. Loosen the two 1.5mm screws at the back of the cover to lift the canopy.
- Built-in Camera Mount: The V2 includes a built-in camera mount in the canopy, with two sets of holes for different angle options. You can choose between traditional angles or a lower angle for steady flights.
- Compatible with Various AIO Boards: The V2 has a larger build space, allowing you to fit different All-in-One (AIO) boards. You can even build it with a double-stacked AIO configuration for advanced setups.
- Battery Tray Options: The V2 includes a battery tray with arrowheads for attaching rubber bands or using a micro battery strap. The tray prevents the battery from sliding out and interfering with the camera.
- Manage LED Kit Compatibility: The V2 is compatible with the Manage LED Kit, providing customizable lighting options for added visual appeal.
Building the Tiny Trainer V2: Note: It is recommended to watch the accompanying build video for visual guidance while following these instructions.
-
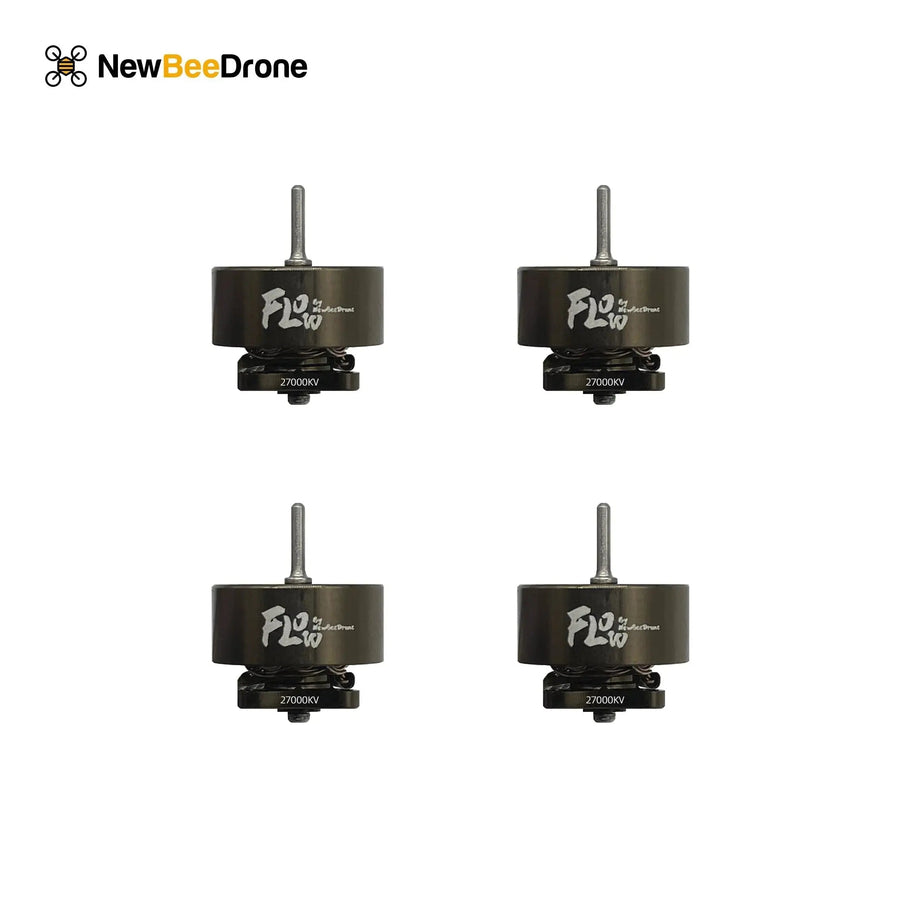
Prepare the Electronics: Pre-solder the camera lead, motor wires, battery lead, and capacitor. Add dongles to the five-volt, ground, video out, and TX1 pads. Connect the receiver lead to the ground, five-volt, RX2, and TX2 pads on the Fusion board.
-
Attach the Fusion Board: Solder the wires from the dongles to the respective pads on the Fusion board. Ensure the TX and RX connections are swapped between the flight controller and the Fusion board.
-
Mount the Fusion Board: Use spare gummies from the tuner Seaboard kit to attach the Fusion board on top of the stack. The gummies fit perfectly into the side holes, while the front hole is an M2 hole.
-
Solder the Receiver Wires: Connect the receiver wires to the appropriate pads on the Fusion board. Pay attention to the correct wiring, following the ground, five-volt, TX, and RX connections.
-
Secure the Fusion Board: Stack the Tune CAO (Capacitor Addition Order) board on top of the Fusion board. Use M2 nuts to secure both boards in place.
-
Prepare for Canopy Installation: Ensure all wires and components are neatly arranged and out of the way. The canopy will come in contact with the upper body plate, helping distribute impact forces.
-
Tighten the Rear Screws: Before installing the arm covers, tighten the two rear screws that secure the canopy. This will provide better access to these screws, aligning them axially.
-
Install the Arm Covers: Once the rear screws are tightened, you can attach the arm covers. This step is easier without the covers initially installed.
-
Finalize the Build: Plug in the drone to ensure all the components are functioning properly. Check that the wires and components are secured and protected.
Congratulations! You have successfully built the Tiny Trainer V2. Enjoy flying your durable and versatile quadcopter. Refer to the build video and the official documentation for any additional tips and troubleshooting guidance.
